
 Image based on an original by Alejandro Escamilla on Unsplash
Confession time. If there’s one topic we can’t stop talking about, it’s backups. Backups are essential, since no one can guarantee that your Mac or iPhone won’t be lost or stolen, be caught in a flood from a broken pipe, or just fail silently. It happens.
You should have a good backup strategy that ensures backups happen regularly, but it’s not paranoid to make double extra sure when you’re doing something that’s more likely to cause problems than everyday activity. And by that we’re thinking about upgrading to a major new operating system, such as macOS 10.15 Catalina or iOS 13.
The reason is simple. As much as Apple tests the heck out of these upgrades, so many files are in play that all it takes is one unexpected glitch to render the entire Mac or iPhone non-functional. Wouldn’t you like to be able to revert instantly if something does go wrong?
Mac Backups before Upgrading
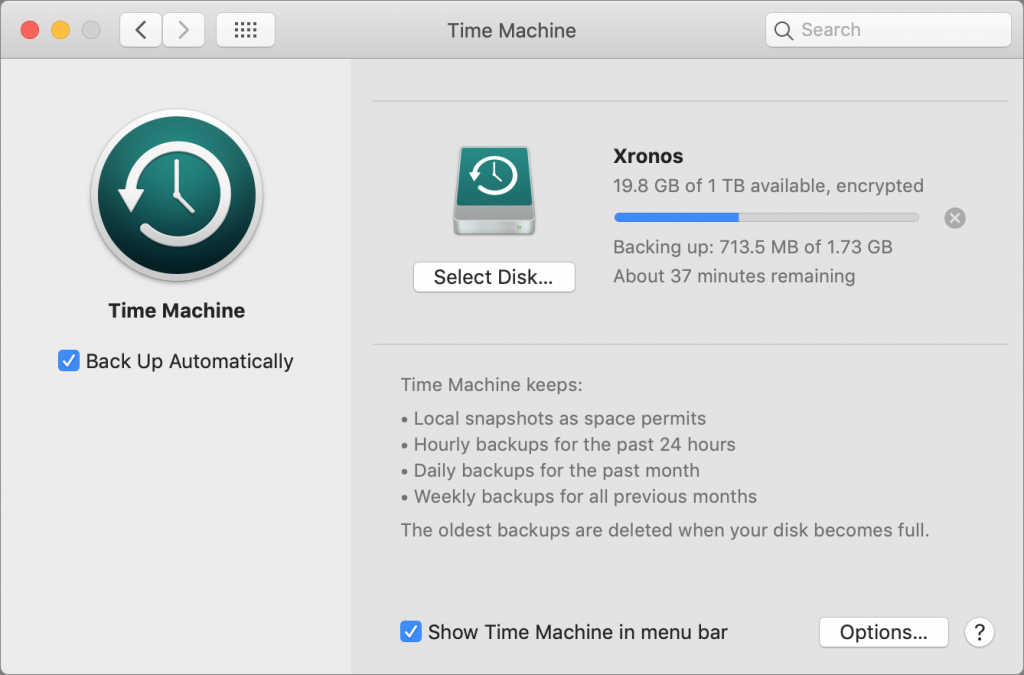
On the Mac side, most people should be using Time Machine. It ensures that you can not only restore your entire drive if necessary, but also easily recover a previous version of a corrupted file. The other advantage of having Time Machine backups (and a bootable duplicate, discussed next) is that you can use either to migrate all your apps, data, and settings back to a new installation of macOS, should that become necessary.
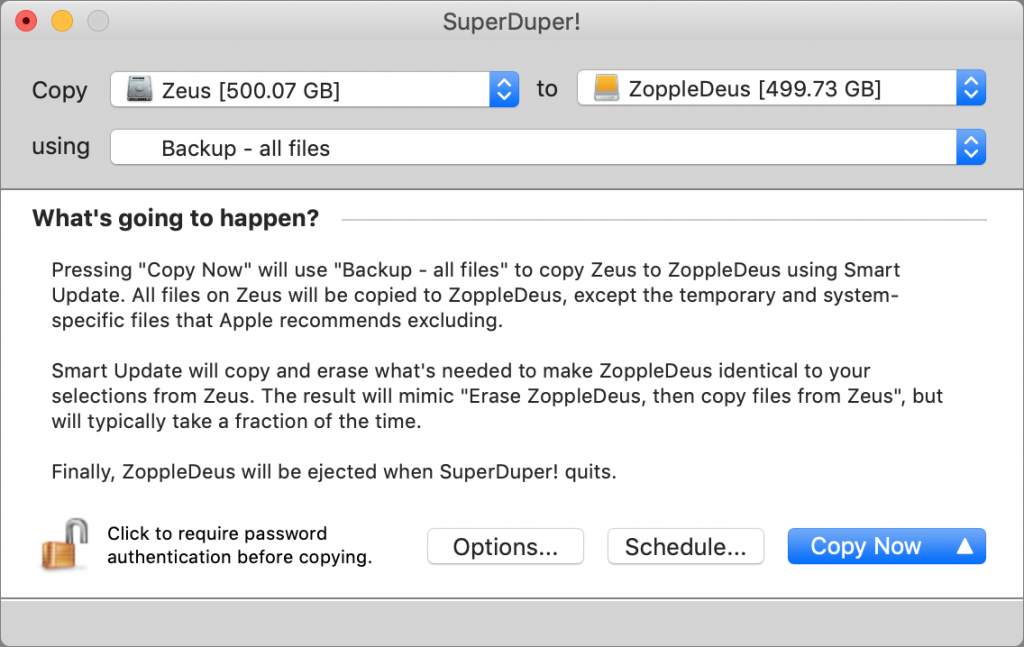
As useful as Time Machine is, a bootable duplicate made with SuperDuper or Carbon Copy Cloner is the best insurance right before you upgrade to Catalina. If an installation goes south, you can also boot from your duplicate and get back to work right away.
Finally, although it’s not directly related to backing up before upgrading, we always recommend an offsite backup made via an Internet backup service like Backblaze. This is because a fire or flood would likely destroy your backup drive along with your Mac.
So please, back up your Mac before something goes wrong. It’s fast, easy, and inexpensive to get started, and we’re happy to help.
iOS Backups before Upgrading
Although upgrade-related problems are less common with iPhones and iPads, they can still happen. It’s more likely that you’d drop your little friend accidentally while juggling groceries or forget it after your workout at the gym, but regardless, a backup ensures that you don’t lose precious photos if you’re not using iCloud Photos or My Photo Stream, and backups make migrating to a new device like a fancy new iPhone as painless as possible.
With iOS, though, you don’t need extra software or hardware to make a backup. Apple provides two ways of backing up your iPhone or iPad: iTunes and iCloud. We generally recommend backing up to iCloud if your backups will fit in the free 5 GB of space Apple provides or if you’re already paying for more iCloud space. If you’re not a fan of the cloud or don’t have space, there’s nothing wrong with iTunes backups, though they’re a bit fussier to set up and manage.
There’s also no harm in using both, with iCloud for nightly automatic backups and iTunes for an extra backup just before upgrading to iOS 13 or to a new iPhone or iPad. A second backup can be useful—we’ve seen situations where an iPhone would refuse to restore its files from iTunes but would from iCloud.
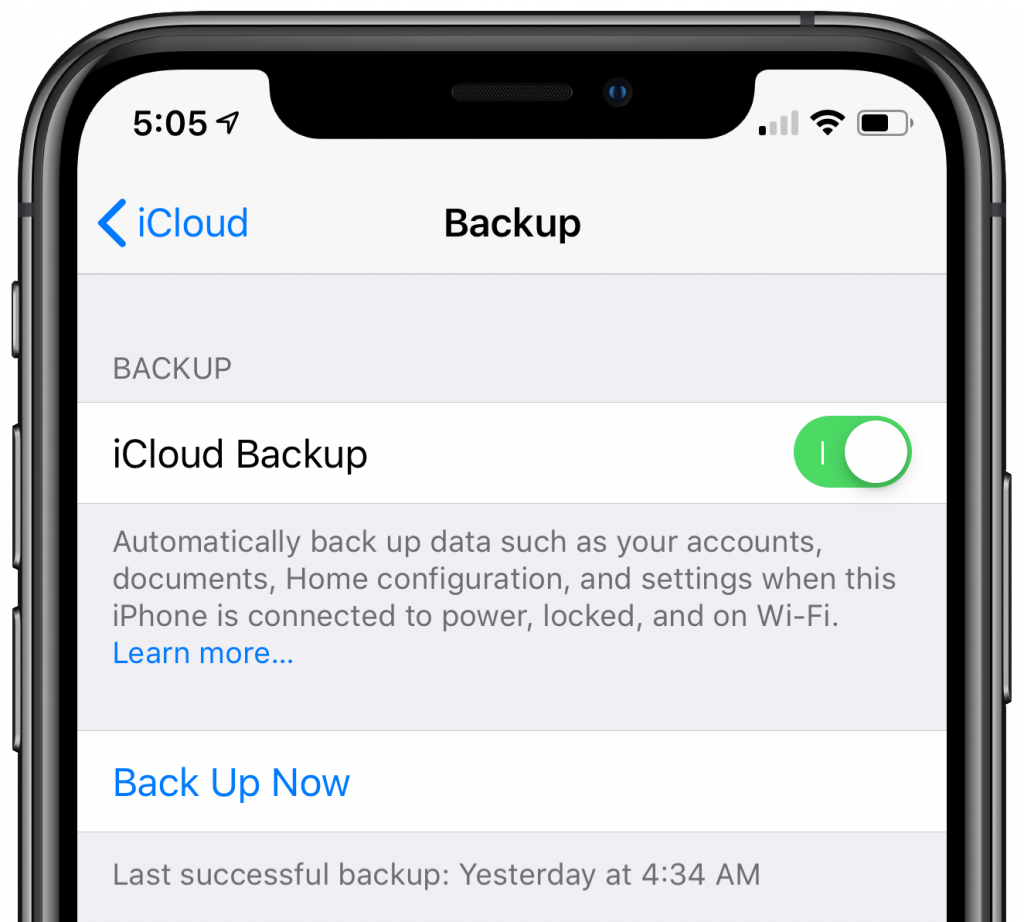
To back up to iCloud, go to Settings > Your Name > iCloud > iCloud Backup, turn the switch on, and tap Back Up Now. For backups to happen automatically in the future, you must have sufficient space in your iCloud account (you can buy more), and your device must be on a Wi-Fi network, connected to power, and have its screen locked.
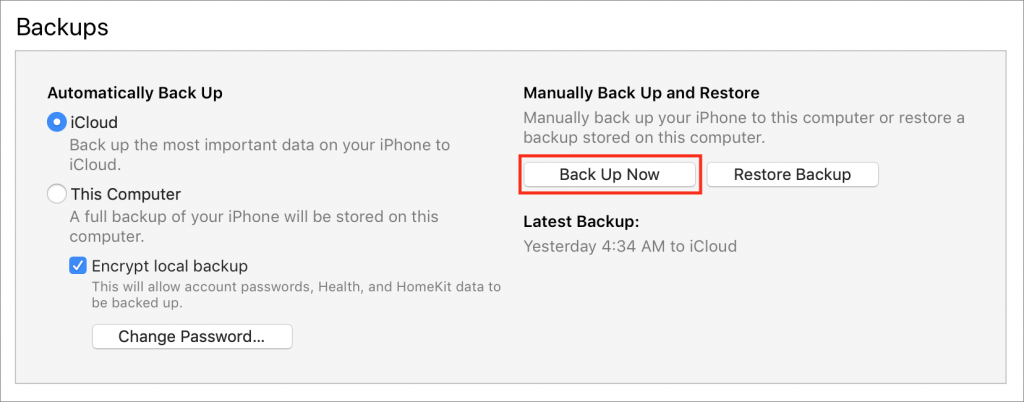
To back up to iTunes, connect your device to your Mac via a Lightning-to-USB cable, launch iTunes, and click the device icon to the right of the media menu.

Then, in the Backups section, click the Back Up Now button. If you’re prompted to encrypt your backups, we encourage you to agree since otherwise your backup won’t include passwords, Health information, or HomeKit data. For automatic backups via iTunes, select This Computer. After that, every time you plug into your Mac, it will back up.
The eagle-eyed among you will have noticed that we’re not talking about how to restore if something goes wrong during an upgrade. That’s because it’s impossible to predict exactly what might happen or what state your device will end up in. So if you’re unfortunate enough to have such problems—or to have some other catastrophic failure—get in touch and we’ll be happy to help.
Super insightful and fresh perspective.
Well explained and easy to follow.
So glad I stumbled upon this.
Looking forward to your next post!
Truly a masterpiece of content.